Acrylic Dip System

DIY False Nails - That last!

March 23, 2017


Ok, excuse the slightly rushed clumsy look, however it was 9.45pm, I had just got back from Zumba, scoffed my tea as quick as I could just so I could put some claws on, ready for the weekend.

These took me approximately 45 mins, they are my second set of DIY falsies, and my last set lasted 4 weeks, I infilled them after 2 weeks then after 4 I wanted them off! Pretty good considering when I used to get them done in the salon (before I became allergic to gel) they cost me £35- £40, a go and infills were £25-£30 (yep, its a rip off living in the Isle of Man)

Next time I do them I will take step by step photos (last night I just wanted to get them done and get to bed!) but for now, I will tell you what you need to buy.

Firstly the start up cost is a bit pricey, but considering you will get plenty of nail sets out of it, along with infills, I think its worth it. You need to purchase the Cuccio Powder Polish Nail Colour Dip System or at least the bottles. This starter kit will set you back approximately £60 - £70, but shop around, I worked out, its less than 3 sets of nails over here, I've already done 2 sets and infills and I've only had the kit just under 2 months.

This is the kit you need!


You will also need a selection of files, I recommend these below, they can all be purchased off EBay relatively cheap;
You will also need to purchase a cuticle pusher, nail glue, nail tips and tip cutters (nail clippers do work, but they are more time consuming!) Get yourself on EBay and get all your essentials in ready.
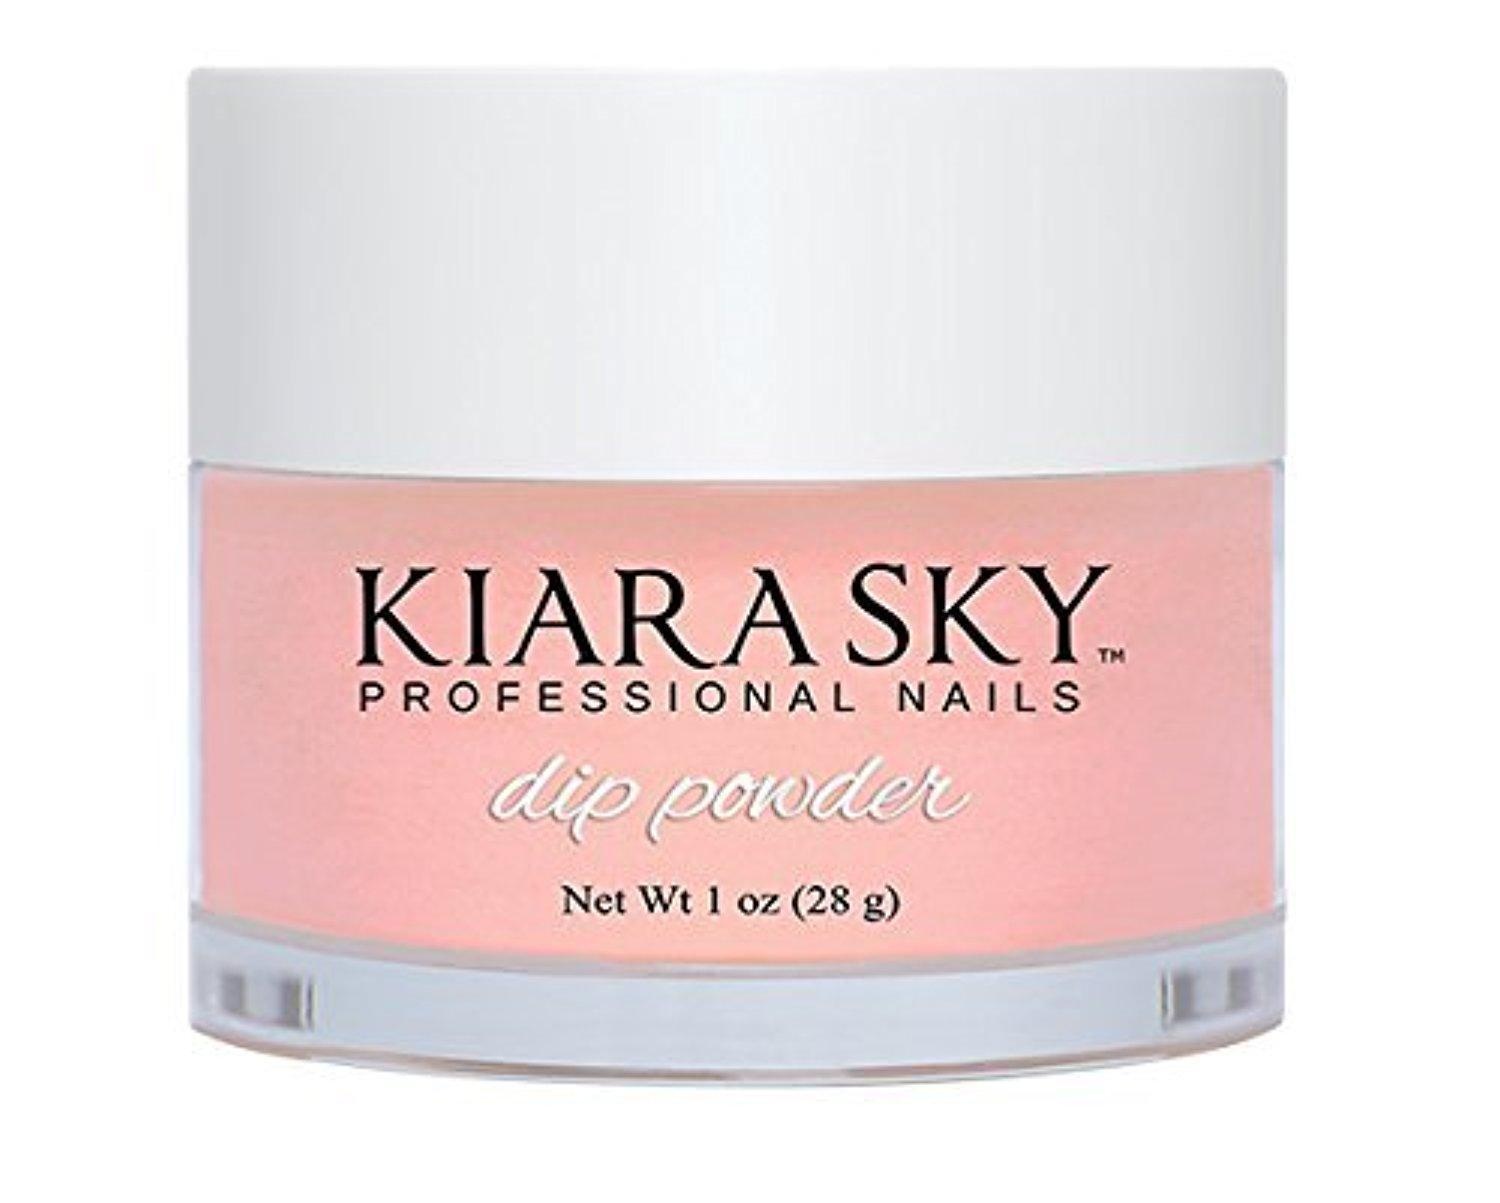
I'm quite fussy when it comes to colours, you can paint these nails with normal nail varnish which is really handy, just get yourself a nice high gloss top coat. I did however purchase two Kiara Sky dip colours, which are these below.


These are about £15 - £16 each on Amazon, as I said, you don't need to buy these as your kit already has powders and you can paint over them with nail varnish in a colour of your choice. I'm just fussy, and thought I'd treat myself to two nice Kiara Sky colours to try out!

Once you have your kit, everything is very much self explanatory, just be sure to prep your nails first.
I will do a step by step next time I do them (or when I infill them) but for now, get ordering your kit ready!

I honestly thought I couldn't get my nails done any more as I became allergic to gel, and the cost of getting acrylics done in the nail salon was extortionate, I'm so glad I purchased the Cuccio kit, it allows me to do my nails in my own time, under my own roof - I can even do them in my pyjamas whilst watching Corrie, its brilliant!

Please note: this is NOT a sponsored post, I purchased all of these products myself with my own money. I have not been coaxed in anyway to review the products. It is my own personal review and write up.

Laura ❤

DIY

DIY Mothers Day Spa

March 16, 2017


Have you run out of ideas for Mothers Day?
Want to do something a little bit different that is more personal than a box of chocolates?

Why not hold your own Spa Day or Evening?

You can choose to be the beautician or to join in, its up to you, I find it easier to do it all and not join in, this way the whole time is spent treating Mum.

Here's what you need:
a nice scented candle
some snacks
a bottle of your Mum's favourite wine
some gossip magazines
a bath robe or loose pyjamas (for both of you)
nice relaxing music
towels (one for her shoulders, one for her feet and one for her hands)
a nice room or linen spray
a face mask (one each if you want to join in)
cleanser
toner
cotton pads
foot scrub (or an exfoliator will do just fine)
foot lotion (or body moisturiser)
body oil
nail polish

a bowl or 2 & warm water - I missed this out of the picture


Directions

Firstly, start by lighting your candle, I use Yankee's black coconut, putting on the relaxing music (something like Instrumental Acoustic on Spotify) and spraying your towels with the room / linen spray, I use The Body Shop's Indian night Jasmine fragrance mist.

Set out your snacks on a table, lay out some magazines and make sure your wine is nice and chilled in the fridge (if you've got white)

Ask Mum to get into her pyjamas / robe and make herself comfy. (You can either do this on your sofa - lay down, or on a bed if its more comfier for her)

Place one of the beautifully scented towels around your Mum's neck ask her to close her eyes (if your Mum has a fringe or long hair, make sure she has it tied up out of her face) be sure your hands are clean first, take some of the cleanser (I am currently using Soap & Glory's Deep Cleansing Milk) at your fingertips and apply this to her face making sure to avoid her eyes. Once this has sunk in wash it off using the cotton pads and warm water (not too hot!).

Pat her face dry using the edges of the towel. Now apply the mask as directed - the ones in the little packets are absolutely fine, find one suitable for your Mum's skintype.

Whilst the mask does its work, get Mum to place her hands on a small towel out in front of her.

Paint her nails in her favourite coloured polish. Once this is done and the mask has been on for the desired time, gently wash away the mask as directed on the product.

Now, not everyone is ok with feet! I am but if your a little bit squeamish, leave this out!

Take a bowl of warm water (big enough to fit your Mum's feet in - ideally a washing up bowl is fine!)

Let Mum soak her feet in the warm water, hand her some magazines and pour her a glass of wine and tell her to help herself to the snacks. Once her feet have been soaking for 5 minutes, take one foot at a time and scrub with the foot scrub - I use The Body Shop's Peppermint Reviving Pumice Foot Scrub (or just an exfoliator is fine) concentrating on her heels and the balls of her feet. Wash off the scrub in the water and repeat on the other foot.

When both feet have been exfoliated, pat them dry with a towel, knelt down with her feet on your lap, take each foot a massage with the foot lotion - I use the Peppermint Foot Lotion from The Body Shop (or any body moisturiser works just as good.)

If Mum would like her toe nails painted, let her choose a colour and ensuring her nails are free from cream (just take a cotton pad and remove any lotion left behind) begin painting her nails.

By now Mum should be feeling very relaxed and pampered and no doubt very appreciative of everything your doing.

One last little treat, take a pea sized amount of body oil - I absolutely love Palmers Cocoa Butter Body Oil, but I know the scent isn't for everyone, a nice rich oil is what you want (you can always get more if required but too much just gets messy, remember that!) Now ask Mum to take her shoulders out of the robe (assuming she has a top on underneath - if not ask her to put a vest on or something!) Now gently massage her shoulders - if your not sure on how to do this, have a look at a YouTube video, its quite simple!

Lastly, pour yourself a wine, you deserve it!
WELL DONE!

Now enjoy reading mags, eating the nibbles and catching up with Mum.


I enjoy treating my Mum to a pamper session, and she LOVES receiving one.
Its an inexpensive way to show your Mum your appreciation for everything she does, and has done for you.

Remember Mothers Day is Sunday 26th March (UK)

Laura ❤


DIY

DIY Mothers Day Vouchers

March 16, 2017


I don't know about you but every year I find myself getting the same things for my Mum on Mothers Day. These are usually something like a bottle of perfume, chocolates, a new top, a candle or some tat from the card shop that I panic bought because I realised I hadn't really got her much.

And each year my Mum says "Lu, you shouldn't have" - but lets face it, if you receive nothing on Mothers Day it really is a kick in the teeth. - I know.. I am a Mother myself!

This Mothers Day we have planned a joint trip away to Liverpool, shopping and spending time together, I have also booked us in at Peaches & Cream to get our make up done as a little treat. I thought I'd make her a little voucher for her make over session and then thought these were good to share in case anyone was stuck for ideas. I've included a make over one (the one I'm using,) a shopping one and a spa one.

Sometimes the best gift you can give is spending time with each other. I don't know of many Mums who don't like spending time with their Daughters (or Son's) especially doing something they love (shopping, being pampered or having their make up done.)

Feel free to use these little vouchers I made, more Mothers Day ideas to follow.

Laura ❤


Crafty

DIY Wedding Signs

March 12, 2017

Ok, so we are due to tie the knot this June in Portugal, to keep costs as low as possible (being a young couple with a little one and a house to run is quite costly!) I have decided to get a bit creative and make a few little personal craft bits for our special day.  I also need to make sure that anything I do make is light and easy to transport via a suitcase!

Our whole wedding day is going to be situated in a Villa (just a little traditional Portuguese farm house with lots of land and beautiful views.) This means that the kids can roam freely and do not have to be sat rigid at a posh 3 course meal where the parents are scared of the child even breathing too heavily never mind throwing a hissy fit. (Yep, we have been there and since that Wedding we both vowed that ours would be laid back and a 'do what you want' kinda day!)

Anyway, back to the signs...

I bought two packs of the chalkboard signs from Hobbycraft at £8 each.


I then used my Silhouette Cameo machine (put it into Google if it looks like I'm talking foreign!) to cut out the vinyl letters - I used plain matte white vinyl, I have rolls of the stuff, it's so handy to have in and especially the Cameo machine, if your a little bit arty & crafty and are looking at purchasing something to help you get creative... I swear you will not be disappointed.

I literally designed the lettering on my laptop using the software (which comes with the machine), I wired my laptop to my Cameo and VOILA! It cut it out for me. I then picked out the excess vinyl, got my clear covering to transfer the vinyl to the signs and mission complete!

This is how they turned out.. (I've only pictured the main entry signs as I don't know who will be reading this and don't want to give too much away about the big day!)


I was so happy with these that I thought I would take it one step further and bought a couple of cheap photo frames from the pound shop, I took out the glass and painted the board on the inside with black chalk paint (I already had some in from painting the playroom wall for the little one.)

I did exactly the same thing with the vinyl and this is how that one turned out...


I still have another photo frame like this so I can still make another sign of some kind. And there are lots more sign boards left too. I think they look brill and will definitely blend into our outdoor, garden, summery, laid back Wedding.

Let me know if you have any DIY Wedding ideas! I'd love to get more creative.

Laura ❤

Links:
http://www.ebay.co.uk/ - This is where I get my vinyl rolls from.


Popular Posts